

Setup Instructions
The Reflector Pro
In the box
Your Reflector Pro ships flat with two screws installed in the front panel and three Velcro strips (two short, one long). Start by backing out the two front screws and setting them aside. You will use them again once the shield is up.
3 Minute Setup Video
Watch the unboxing and setup
Review the quick video walkthrough first, then use the written instructions below when you want each step at your own pace.
How to Expand
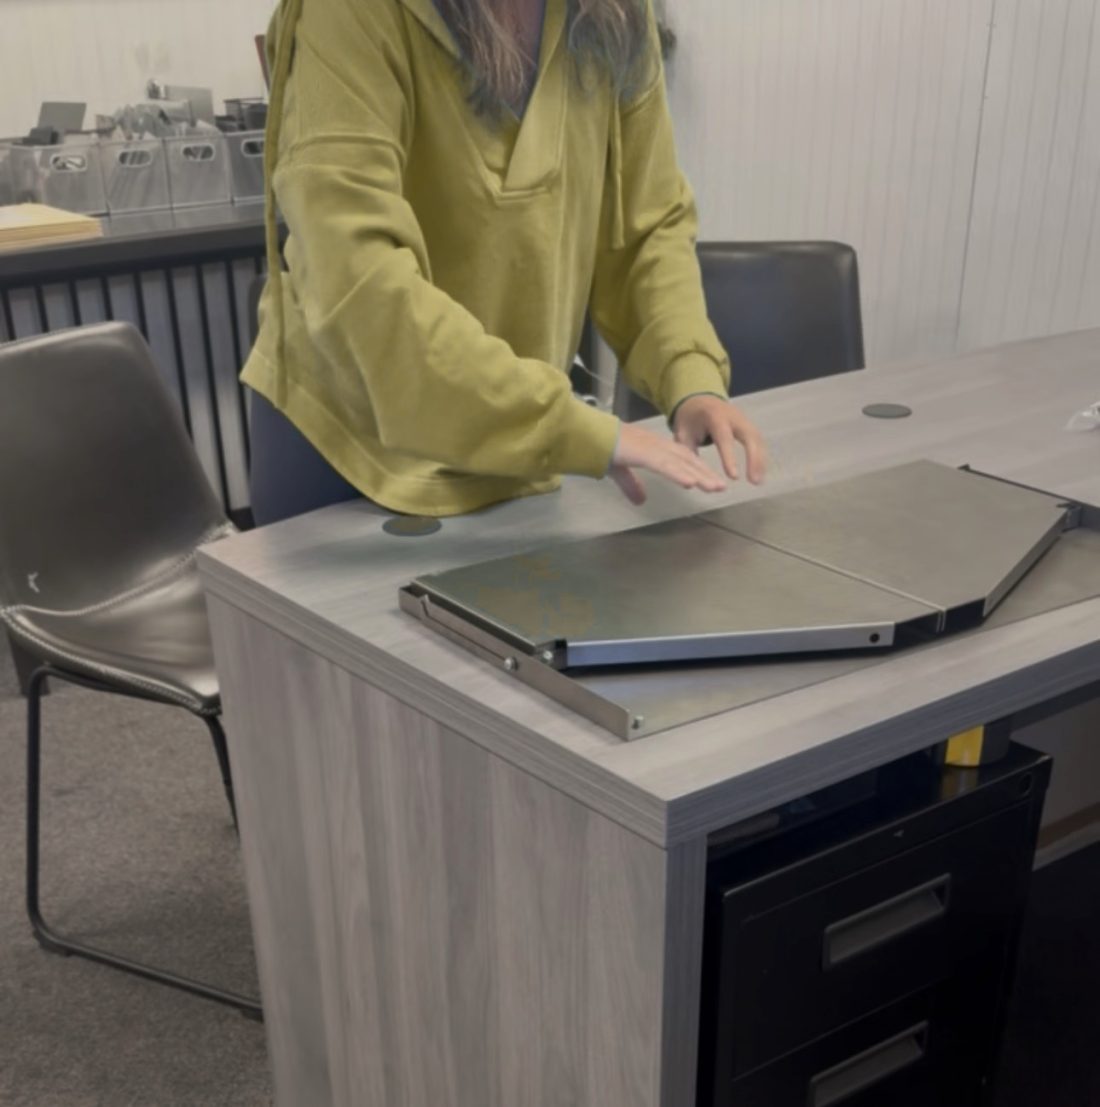
Start fully collapsed
Set the Reflector Pro down flat and fully collapsed on a stable surface. Back out the two screws in the front and set them aside for now.
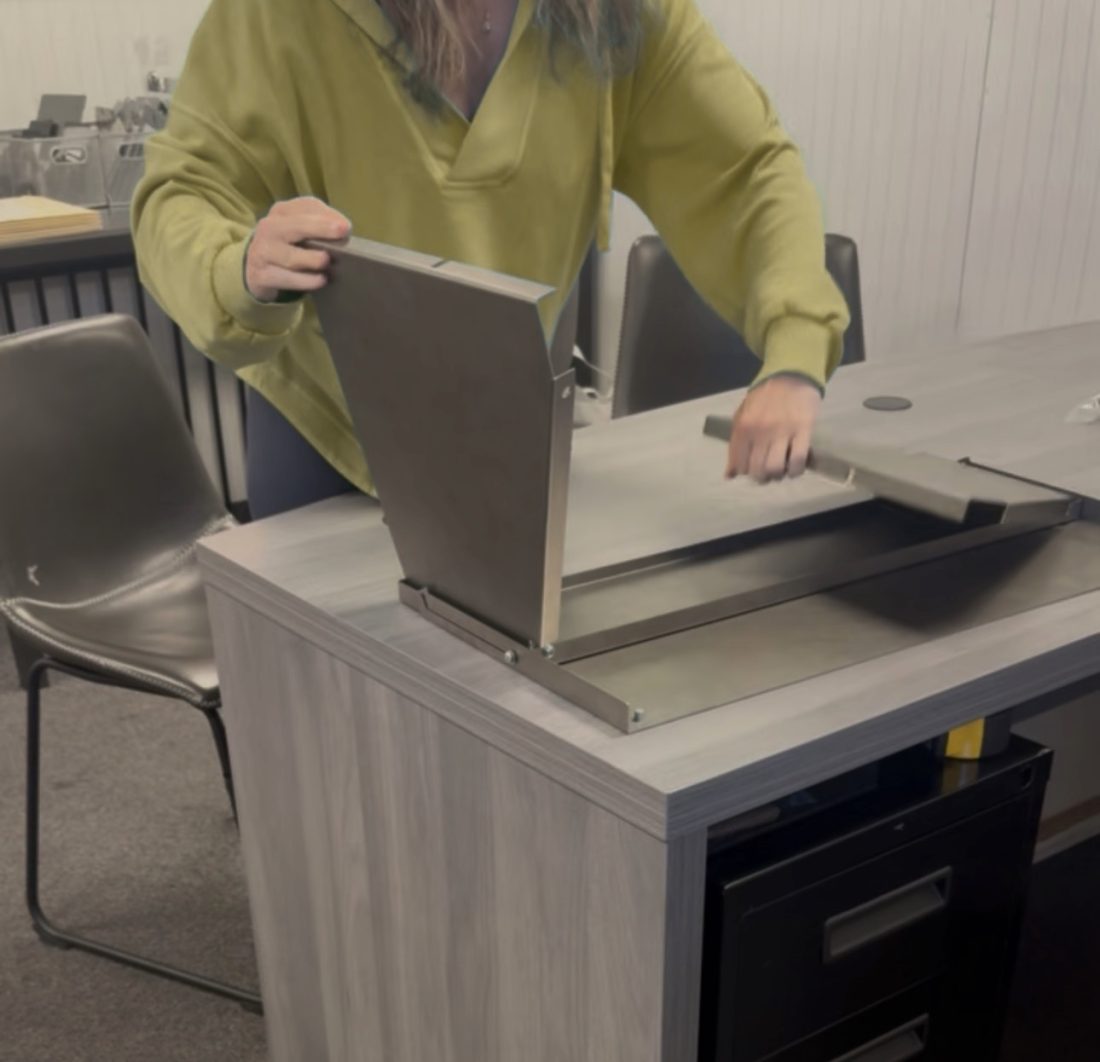
Expand the legs into place
Open the legs out into position so the unit has its base to stand on.
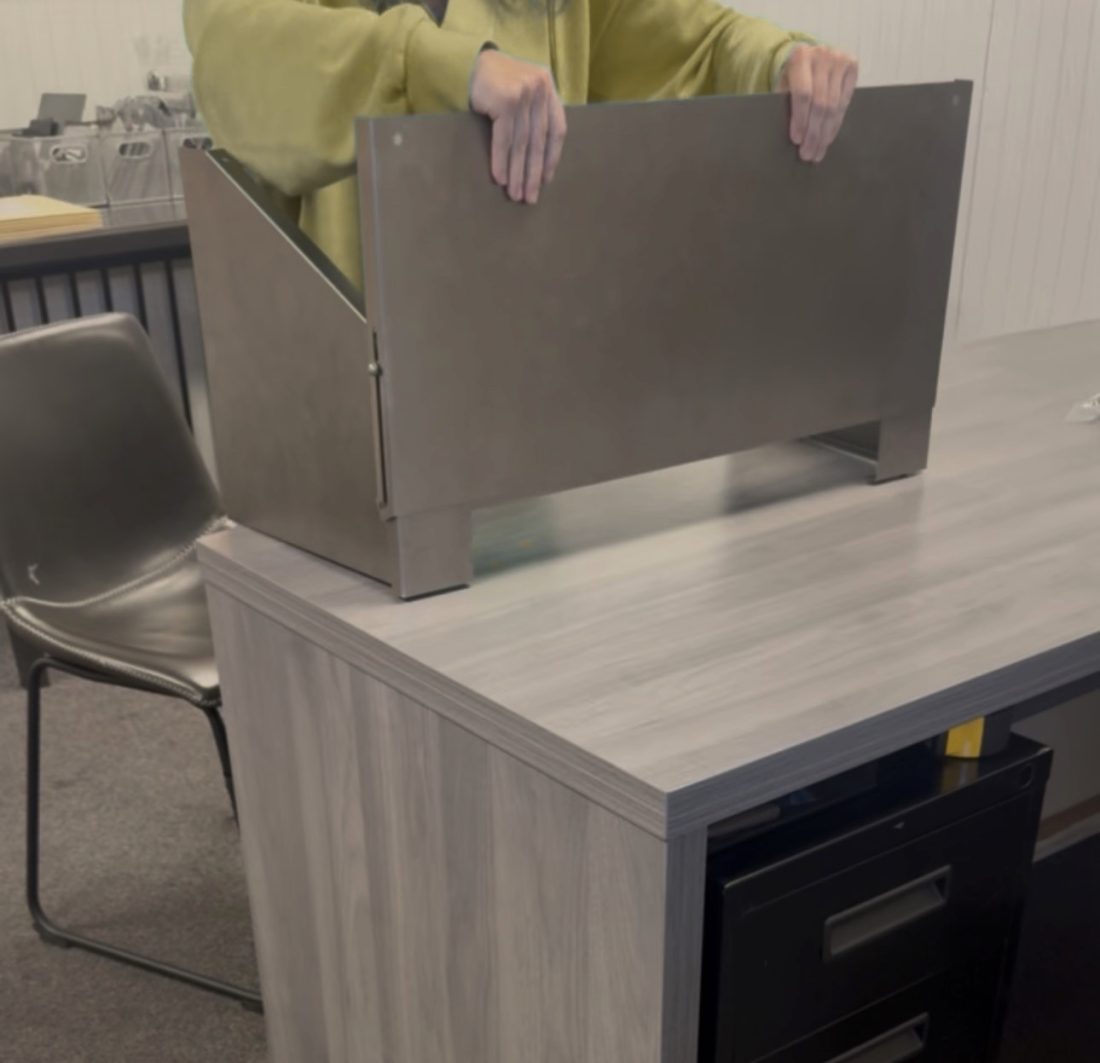
Lift the front shield up
With the unit resting on its back, lift the front shield up into place.
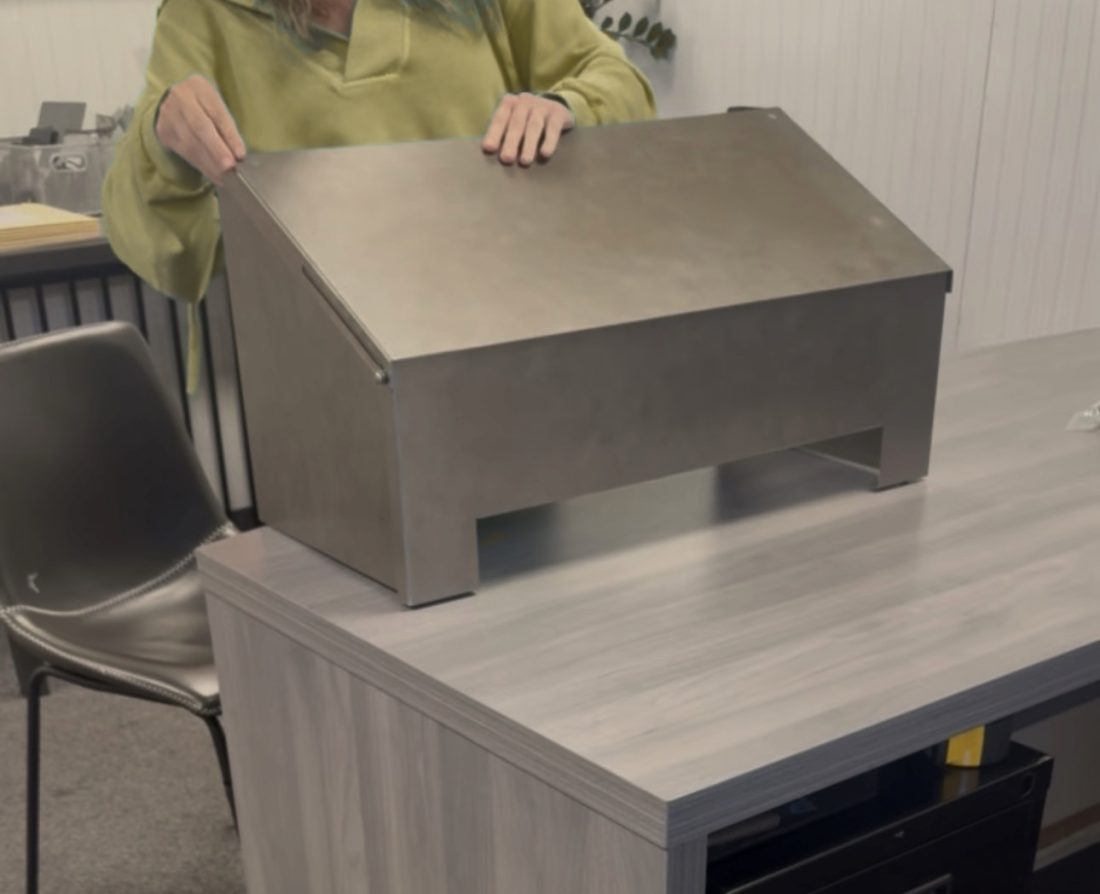
Seat the shield, add screws (optional)
Set the front shield into position and line up the holes. For extra hold, thread in the two screws you set aside.
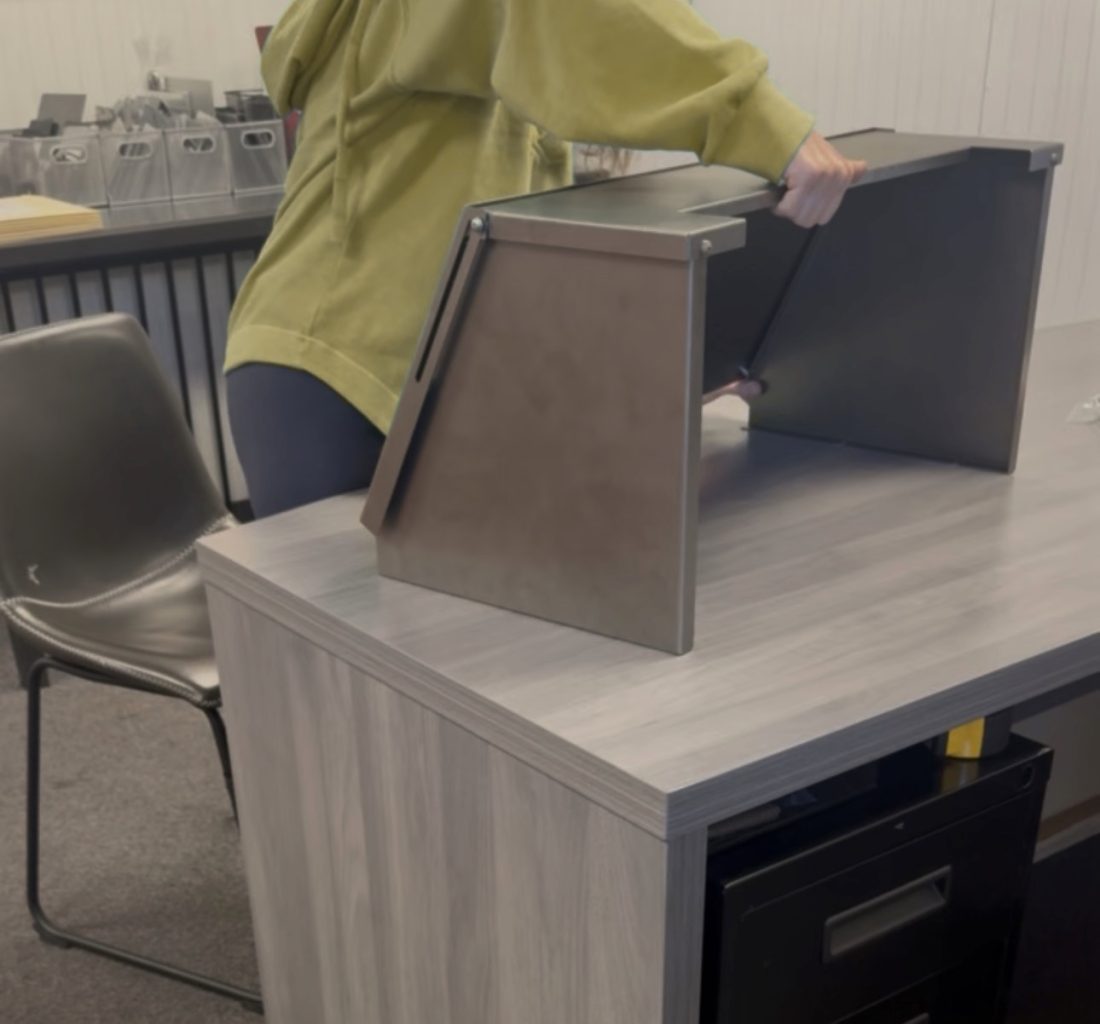
Flip it upright
Flip the unit upright. It is set up and ready to go.
How to Collapse
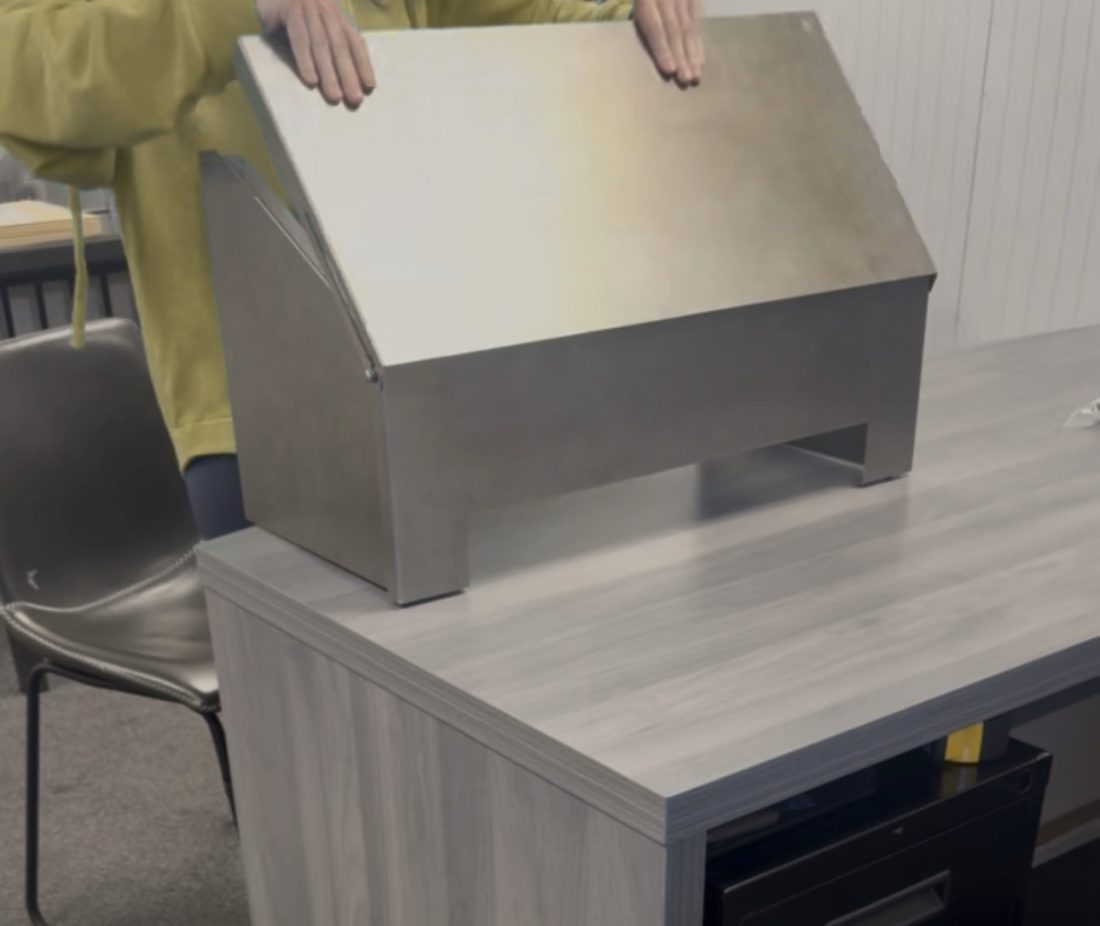
Start expanded, on its back
Begin with the unit fully expanded and lay it down on its back.
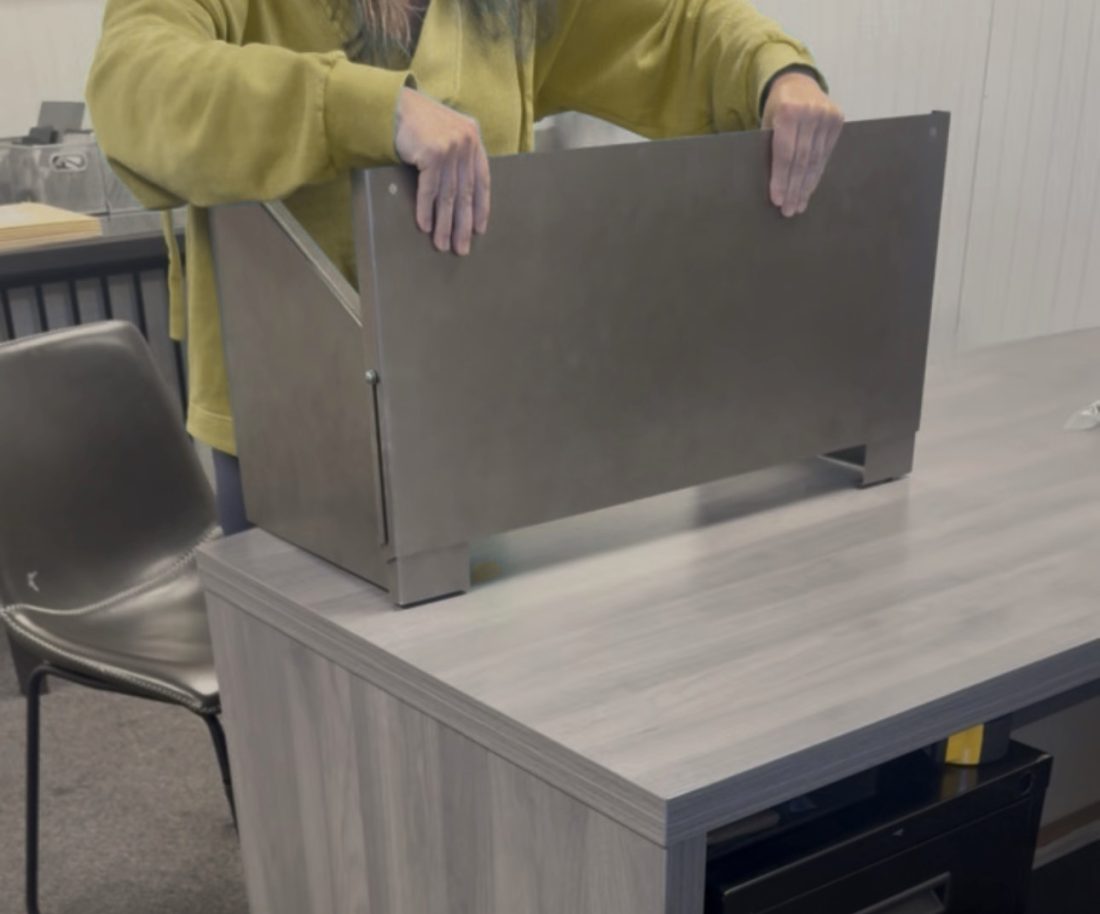
Release the front shield
Remove the two screws first if you installed them. Then pull the front shield out of place and slide it down.
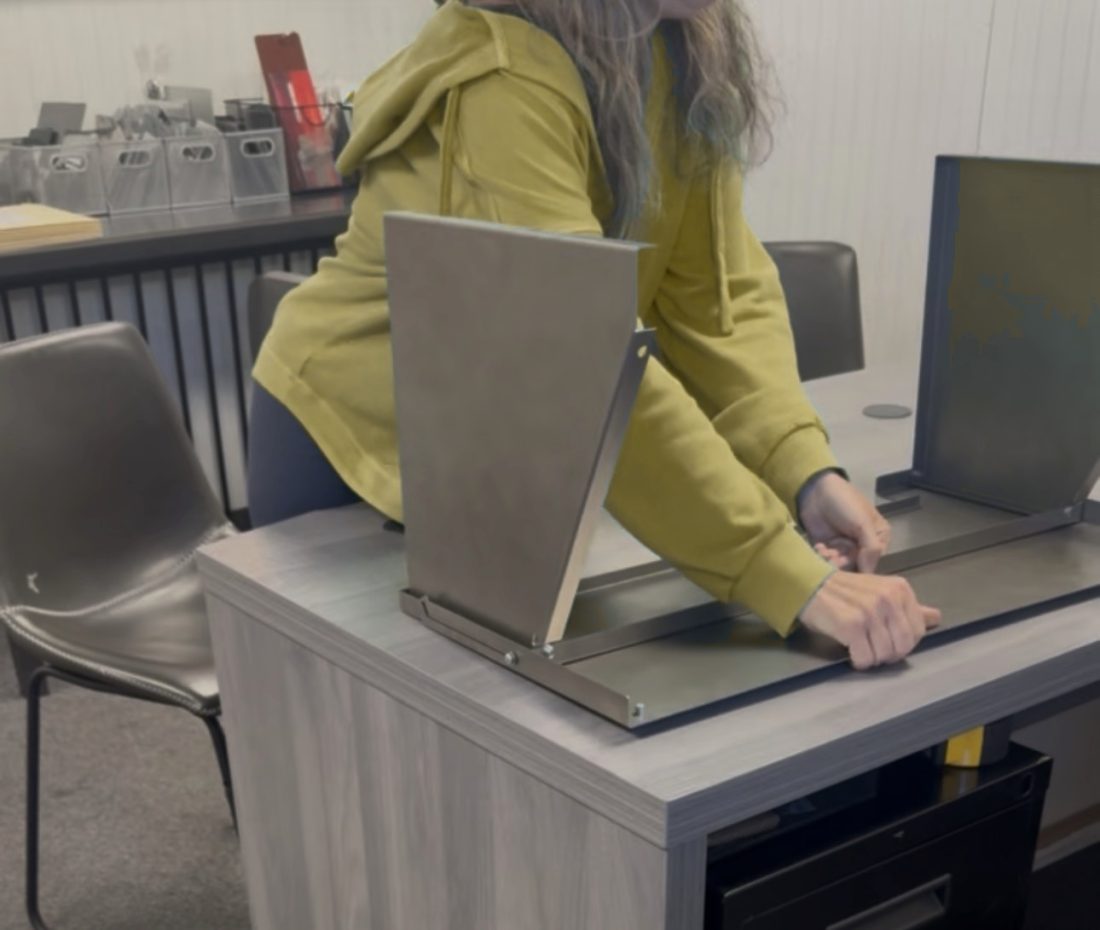
Flip it onto its top
Flip the unit onto its top so the legs point up toward the ceiling.
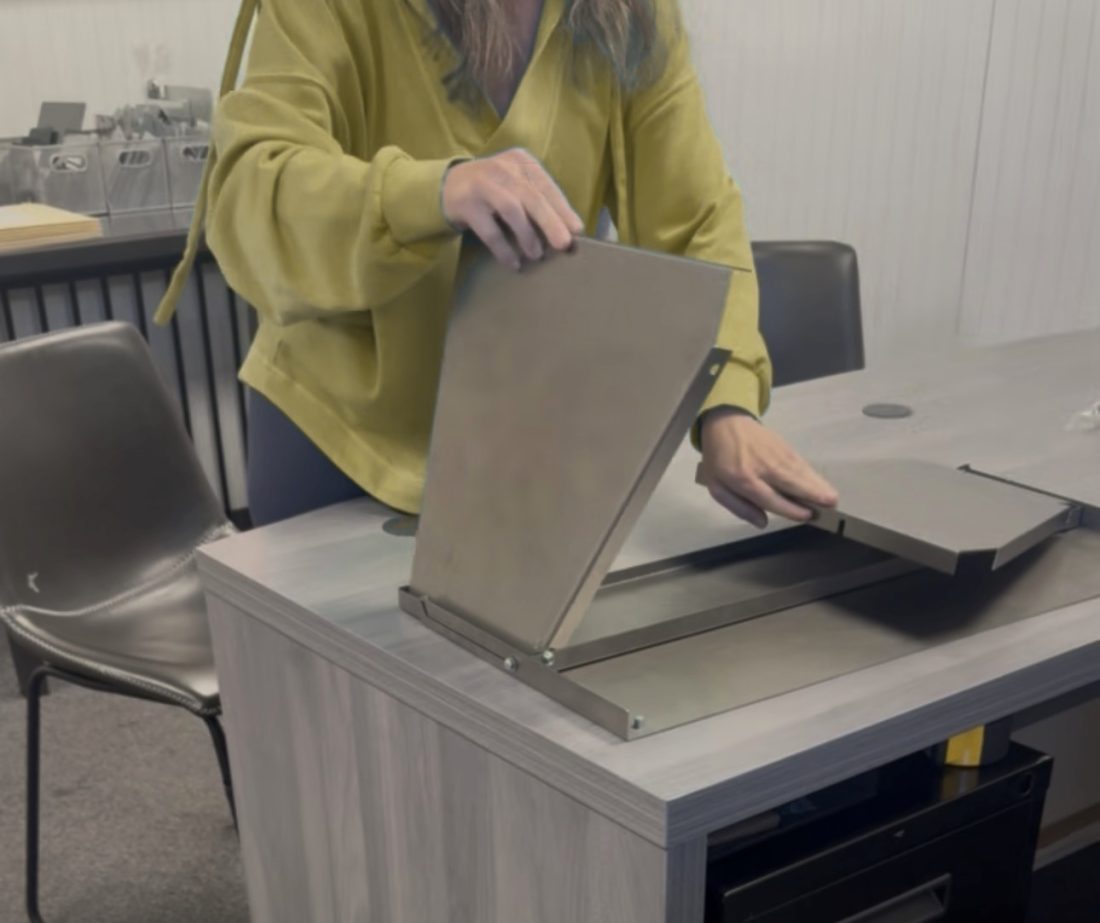
Fold the legs in
Collapse the legs down flat against the unit.
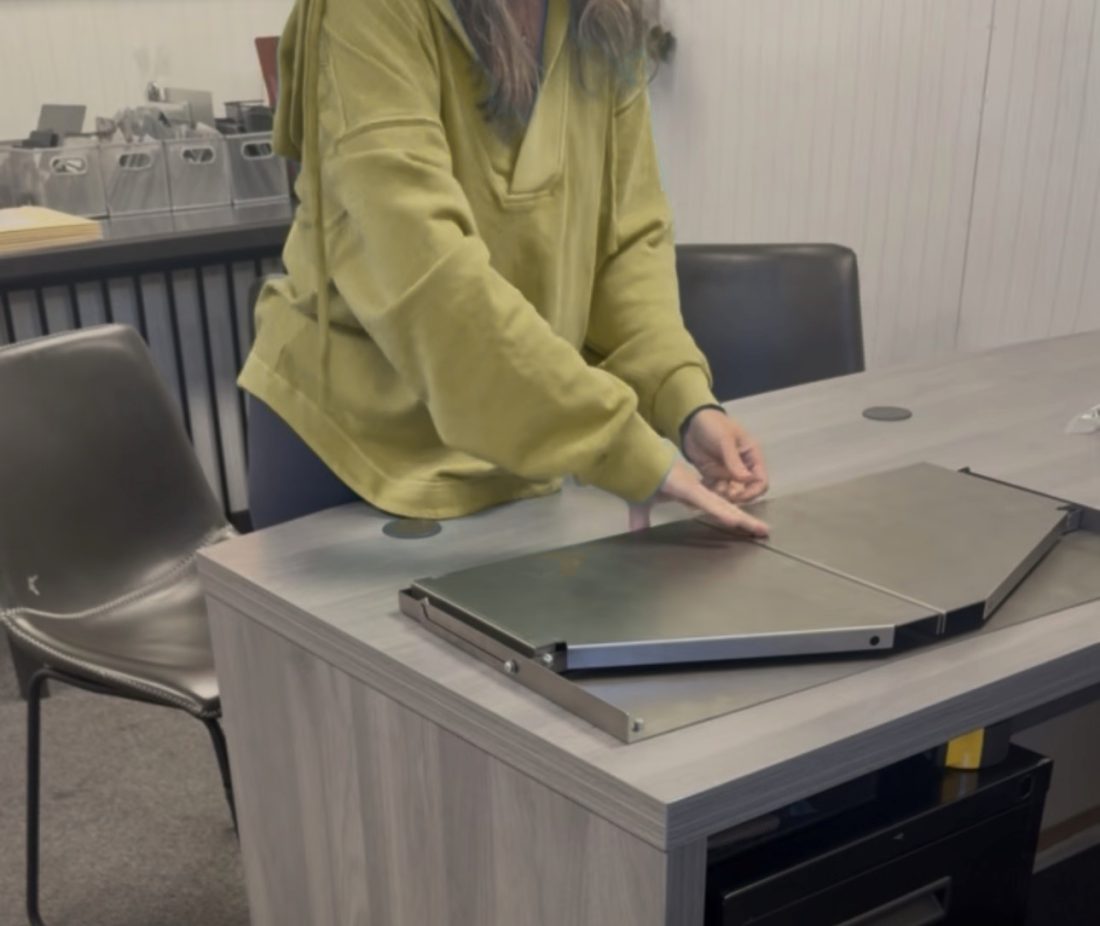
Fully collapsed and strapped
With the legs fully collapsed, lay the long Velcro strip across them to hold them closed for transport (if you installed the leg Velcro).
Velcro & Transport
Three Velcro strips
Your Reflector Pro comes with three strips of Velcro: two short pieces (one for each leg) and one long piece that holds the legs closed for transport. The two short pieces are a one-time install.
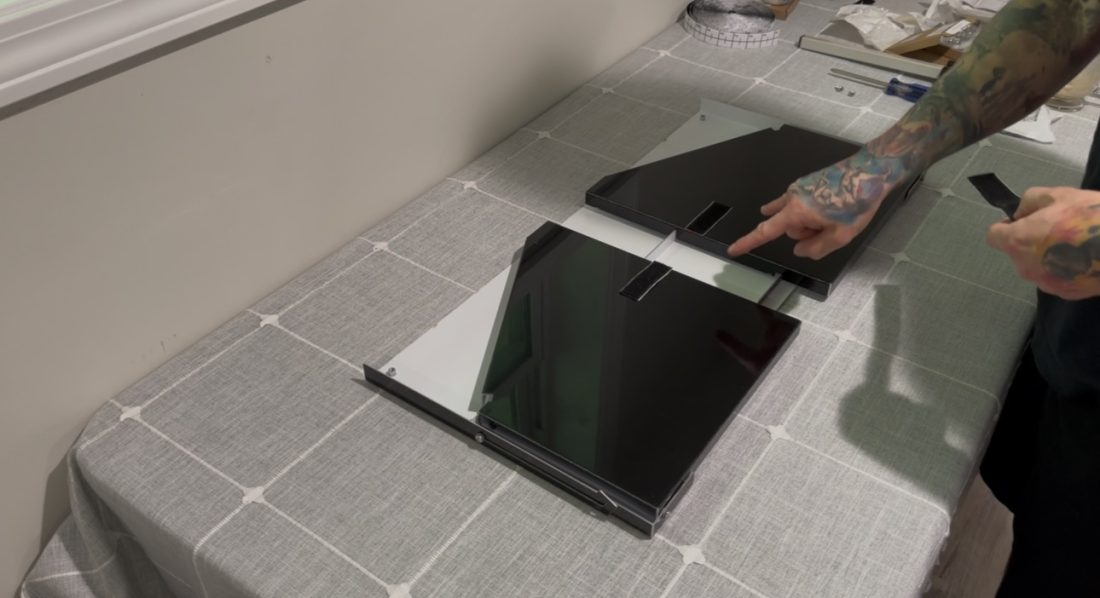
One-time setup: a short strip on each leg
Peel the backing off the two short Velcro pieces and press one onto each leg, left and right. Press firmly so the adhesive sets.
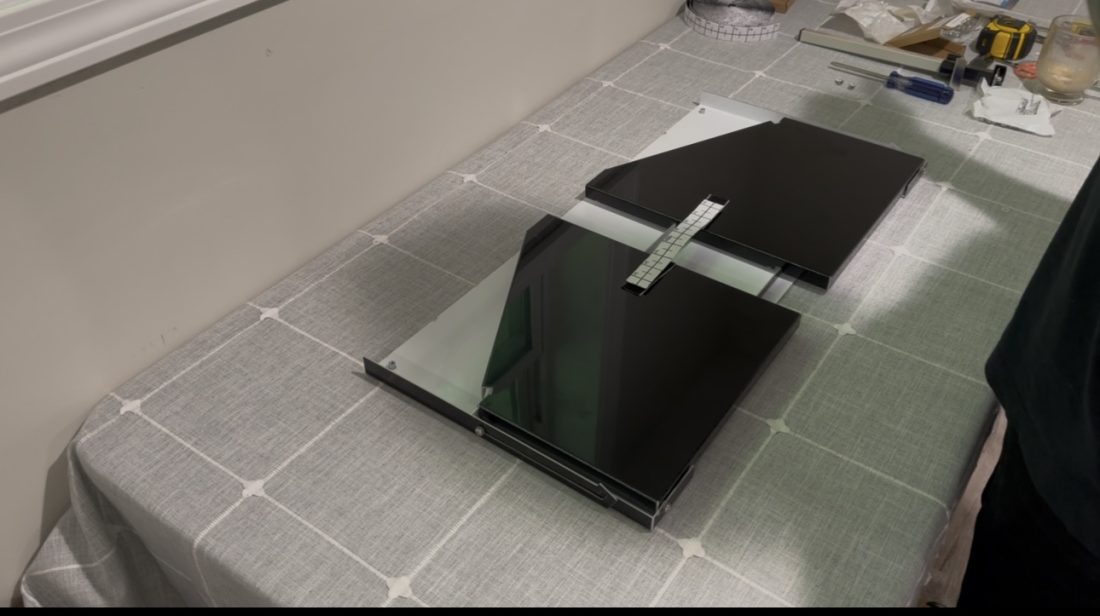
For transport: strap across the legs
When the unit is collapsed, lay the long Velcro strip across both legs. It presses onto the two short strips and keeps the legs from opening while you carry or ship it.